
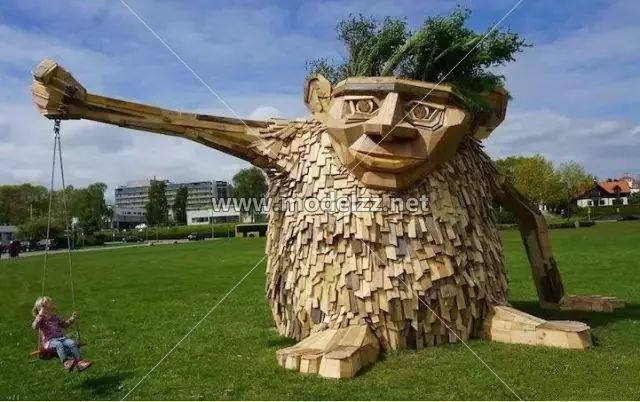
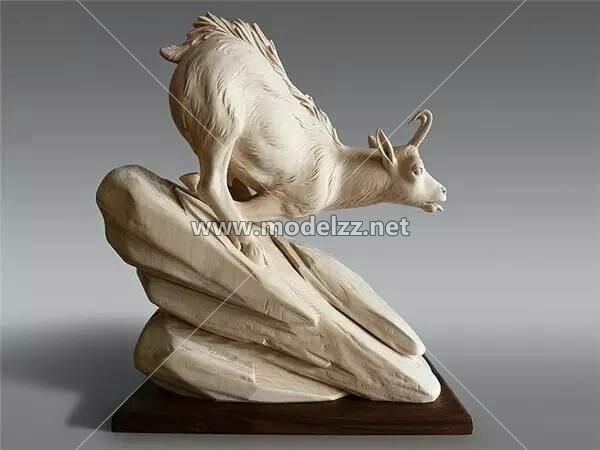
When preparing for a wood carving wood animal sculptures, we can provide some professional tips for the whole process of large sculptures to help you finish your sculpture smoothly.
First, make a a list of critical tools for custom colorful sculptures in case slow down the workflow. Before start carving, you can choose the best position for your design in the log, and walk around to look for the cleanest areas. Using a blower to clear away sawdust is such a time saver and brings you back to a clear visualization fast.
Print out and display your reference images, which helps you take reference to details and in case you forget anything important. Setting up scaffolding saves a ton of time during the carving process with a perfect, rapid 360 degree access to all parts of the carving. Renting scaffolding is cheap too and worth every penny. A simple banner can be hung on scaffolding with a few bungee cords as a great way to advertise when carving in public areas.
Pay special attention to knots or uneven parts, and be aware the lean wood. Sometimes there will be holes or blemishes that need a quick, permanent fill. Epoxy clay is an ideal material. Larger cavities can be filled with expanding foam spray and then surfaced with epoxy clay. Laser level can help draw a perfectly flat line all around the base.
We can preserve the outside of the carving with a number of different wood preservatives, and the only thing we can do to prevent rot from the inside is to make a cut all the way through the very bottom of the base. This should only be done on carvings that are straight up and down and are not top-heavy to ensure that rot will not spread up the trunk through the earth.


